Are you ready to transform your house into a more sustainable and healthy home? Embracing eco-friendly upgrades doesn't have to be overwhelming; it can be an exciting journey. This guide is tailor-made for beginners like you. We'll explore five simple, actionable projects that will significantly reduce your environmental footprint, save you money, and create a healthier living space. Making your home sustainable is not only great for the planet, it's also a smart financial move, as you'll see.
Why Embracing Sustainable Home Upgrades Matters for a Greener Life
Choosing a sustainable lifestyle begins right where you live. Your home's energy and water usage, waste generation, and the products you bring inside all have a significant environmental impact. The good news is that you have the power to change this. By implementing eco-friendly upgrades, you'll contribute to reducing greenhouse gas emissions, conserving precious resources, and improving your overall quality of life. But how does this translate into practice?
Let's consider a common scenario: imagine you're using incandescent light bulbs throughout your house. They are energy hogs. Switching to LED light bulbs can cut your energy consumption by up to 75%. That translates to a significant reduction in your carbon footprint and lower electricity bills. Small changes can make a big difference, and those savings quickly add up.
Then there's the impact on indoor air quality. Many conventional cleaning products contain volatile organic compounds (VOCs) that can pollute your indoor air, leading to health problems. By swapping these out for natural, eco-friendly alternatives, you create a healthier environment for your family, minimising exposure to harmful chemicals. In my experience, it is a simple and powerful change.
Essential First Steps to Get Started
Before you dive into specific projects, take a few essential steps to set yourself up for success. First, conduct a home energy audit. Many utility companies offer free or low-cost audits that will identify areas where your home is losing energy. This will help you prioritise your upgrades. You may discover that the biggest gains come from insulating your attic or sealing leaky windows, or perhaps you'll find that your water heater is costing you a fortune.
Next, assess your current consumption habits. Review your utility bills, track your water usage, and take inventory of your waste. Understanding where you currently stand is key to measuring your progress. This baseline will help you celebrate the wins!
Finally, set realistic goals. Start small and gradually incorporate more projects as you become more comfortable. It's much better to implement a few sustainable practices consistently than to try and do everything at once and feel overwhelmed.
Common Beginner Questions Answered
- Is it expensive to make my home sustainable? Not necessarily. While some upgrades require an initial investment, many projects offer long-term cost savings through reduced energy and water bills. There are also numerous DIY options and government incentives available to offset costs.
- Where do I start? Focus on the low-hanging fruit first. Start with simple swaps like LED light bulbs, low-flow showerheads, and eco-friendly cleaning products. These changes are easy to implement and offer immediate benefits.
- How do I measure my progress? Track your energy and water usage before and after each upgrade. You can also monitor your waste reduction by keeping an eye on your trash output. Celebrate your successes – it's motivating.
Essential Energy-Saving Hacks
Energy conservation is the cornerstone of a sustainable home. Reducing your energy consumption not only lowers your carbon footprint but also saves you money on your utility bills. Here are a few practical and easy-to-implement energy-saving upgrades.
1. Switch to LED Lighting
LED light bulbs are an excellent, immediate way to reduce your energy consumption. They use up to 75% less energy than traditional incandescent bulbs and last much longer. This is a win-win. They produce the same amount of light but require significantly less power. Replacing all the bulbs in your home with LEDs can drastically reduce your electricity bill.
Step-by-step:
- Identify existing bulbs: Check what type of bulbs you have (e.g., A19, BR30). The box or the bulb itself will show this.
- Purchase LED replacements: Buy LED bulbs that match the base and brightness (measured in lumens) of your current bulbs. You can often find LED bulbs in multi-packs for cost savings.
- Replace the bulbs: Simply screw in the new LED bulbs. Ensure that you're using the correct wattage for your fixtures.
Example: A single 60-watt incandescent bulb used for 3 hours a day costs about $5-7 per year to run. An equivalent 9-watt LED bulb only costs about $1-2 annually. If you have ten bulbs, that adds up to significant savings over time.
Common mistake: Not considering the colour temperature of the bulbs (measured in Kelvin). Choose a warm white (2700K-3000K) for living areas and a cooler white (3500K-4000K) for task areas.
Expert Tip: Take advantage of rebates or tax credits offered by your local utility company or government. These can significantly reduce the upfront cost of LED bulbs.
2. Smart Thermostat Installation
A smart thermostat learns your heating and cooling preferences and automatically adjusts the temperature to optimise energy use. This is a fantastic way to automate energy savings. You can set schedules, remotely control your thermostat via an app, and receive energy usage reports. The best part is that these thermostats can often pay for themselves in energy savings within a couple of years.
Step-by-step:
- Check compatibility: Ensure the smart thermostat is compatible with your HVAC system (heating, ventilation, and air conditioning). Most are, but it's important to confirm this.
- Turn off the power: Switch off the power to your HVAC system at the breaker box before beginning the installation.
- Remove the old thermostat: Carefully detach the wires from your old thermostat, taking photos of the wiring for reference. This makes it easier to install the new one.
- Install the smart thermostat: Follow the manufacturer's instructions to connect the wires to the new thermostat and mount it on the wall.
- Set up the smart thermostat: Connect the thermostat to your home's Wi-Fi and configure your preferred heating and cooling schedules.
Example: A smart thermostat can save you an average of 10-12% on heating and cooling costs. If your annual heating and cooling bill is $1,500, you could save $150-$180 per year. It's worth it.
Common mistake: Not setting up a proper schedule for your smart thermostat. Failing to do so negates many of the energy-saving benefits.
Expert tip: Consider models with geofencing, which automatically adjusts the temperature based on your location, turning down the heat or AC when you're away.
3. Seal Air Leaks and Improve Insulation
Air leaks and insufficient insulation can waste a significant amount of energy. Sealing leaks and upgrading your insulation is a more involved project but pays off handsomely over time. These two upgrades work synergistically.
Step-by-step:
- Identify air leaks: Use caulk or weatherstripping around windows and doors. Also, check for gaps in the attic, around pipes, and electrical outlets.
- Seal air leaks: Apply caulk to seal cracks and gaps around windows and doors. Use weatherstripping for gaps that move.
- Inspect insulation: Check your attic, walls, and floors for proper insulation. Add more insulation if needed. You can do this yourself, but be prepared to invest time and effort.
- Professional Help: For larger areas, consider hiring a professional to improve your insulation.
Example: Properly insulating your attic can reduce energy loss by up to 20%. The cost of materials can range from a few hundred to a couple of thousand dollars; however, the savings on heating and cooling can quickly offset the initial investment over time. This is one of those "big impact" projects.
Common mistake: Not addressing air leaks before adding insulation. Air leaks will severely undermine your insulation efforts. You need to do both.
Expert Tip: Look for government rebates or tax credits for insulation upgrades. Many programs offer financial incentives to homeowners who invest in energy-efficient home improvements.
Water Conservation Strategies for Every Room
Conserving water is crucial for a sustainable home. Water scarcity is a growing concern in many parts of the world. You can reduce your water usage both indoors and outdoors. Let's look at some simple, actionable strategies.
1. Install Low-Flow Showerheads and Faucets
Low-flow showerheads and faucet aerators reduce water consumption without sacrificing water pressure. These are easy to install and have a noticeable impact.
Step-by-step:
- Remove existing showerhead: Unscrew the old showerhead from the shower arm. Wrap the threads with Teflon tape to ensure a watertight seal.
- Install the new showerhead: Screw the new low-flow showerhead onto the shower arm, tightening it by hand. Be careful not to overtighten.
- Install faucet aerators: Screw the aerator onto the faucet spout. Most faucets have removable aerators; if not, you may need an adapter.
Example: A standard showerhead uses about 2.5 gallons of water per minute (GPM). A low-flow showerhead uses only 1.5 GPM or less. If you shower for 10 minutes a day, you can save 10 gallons of water per day. That's nearly 3,650 gallons per year, which directly translates into savings on your water bill.
Common mistake: Choosing a low-flow showerhead with poor water pressure. Many models offer excellent water pressure while still conserving water.
Expert Tip: Look for WaterSense-certified showerheads and faucets. They meet specific water efficiency standards and perform well.
2. Fix Leaks Immediately
Leaky faucets and toilets waste a surprising amount of water. A dripping faucet can waste gallons of water daily. The most significant water waster in the home is often a leaky toilet.
Step-by-step:
- Identify leaks: Check faucets for drips and listen for running toilets. Add food colouring to the toilet tank and wait to see if the colour seeps into the bowl.
- Repair faucets: Replace worn washers or O-rings. If you're unsure, consult a plumber.
- Repair toilets: Replace the flapper or fill valve. Replacing a leaky flapper is often a simple DIY fix.
Example: A running toilet can waste up to 200 gallons of water per day; a leaky faucet can waste several gallons daily. Fixing these leaks can save you a significant amount of water and money.
Common mistake: Ignoring minor leaks. Those small drips add up over time, leading to higher water bills.
Expert Tip: Check your water meter regularly to detect hidden leaks. Turn off all water sources and see if the meter is still moving.
3. Water-Efficient Landscaping
Your outdoor space offers many opportunities for water conservation. Choose drought-tolerant plants, use efficient irrigation systems, and consider alternatives to traditional lawns.
Step-by-step:
- Choose drought-tolerant plants: Select plants native to your region, as they are adapted to local climate conditions. You can often find these at local nurseries.
- Install a drip irrigation system: Drip irrigation delivers water directly to the roots of plants, minimising water waste. It's one of the most efficient watering options.
- Consider a smart sprinkler system: These systems use sensors and weather data to adjust watering schedules. They are a great upgrade for many lawns.
Example: Replacing a traditional lawn with drought-tolerant landscaping can reduce your water consumption for landscaping by 30-50%. This has a huge impact.
Common mistake: Overwatering your lawn. Watering more often than needed wastes water and encourages shallow root growth, making your lawn less drought-resistant.
Expert Tip: Collect rainwater for irrigation. Install rain barrels to capture rainwater from your roof. You can then use this water to irrigate your garden.
DIY Home Green Upgrades
Beyond the big-ticket items, there are many simple DIY projects you can do to green your home. These projects are often low-cost and can be completed in an afternoon. They offer a great way to incorporate eco-friendly practices into your daily life.
1. Make Your Own Natural Cleaning Products
Commercial cleaning products often contain harmful chemicals and come in plastic bottles. Making your own cleaners is an easy way to reduce your exposure to toxins, save money, and cut down on plastic waste.
Step-by-step:
- Gather ingredients: You will need vinegar, baking soda, essential oils, water, and spray bottles. You can purchase these at most grocery stores.
- Create an all-purpose cleaner: Mix equal parts water and white vinegar in a spray bottle. Add a few drops of essential oil for fragrance. You can use this cleaner on most surfaces.
- Make a glass cleaner: Mix equal parts water and vinegar in a spray bottle. This makes a streak-free glass cleaner.
- Create a scouring scrub: Mix baking soda with water to form a paste. Use this paste to scrub sinks, tubs, and other surfaces.
Example: Making your own all-purpose cleaner can save you money compared to buying commercial cleaners, which can cost up to $5-$10 per bottle. By refilling the same spray bottle, you also reduce plastic waste.
Common mistake: Using vinegar on certain surfaces, such as granite or marble. Vinegar can etch some surfaces, so it's best to avoid using it on them.
Expert Tip: Experiment with different essential oils for fragrance. Some great options include lemon, lavender, and tea tree oil.
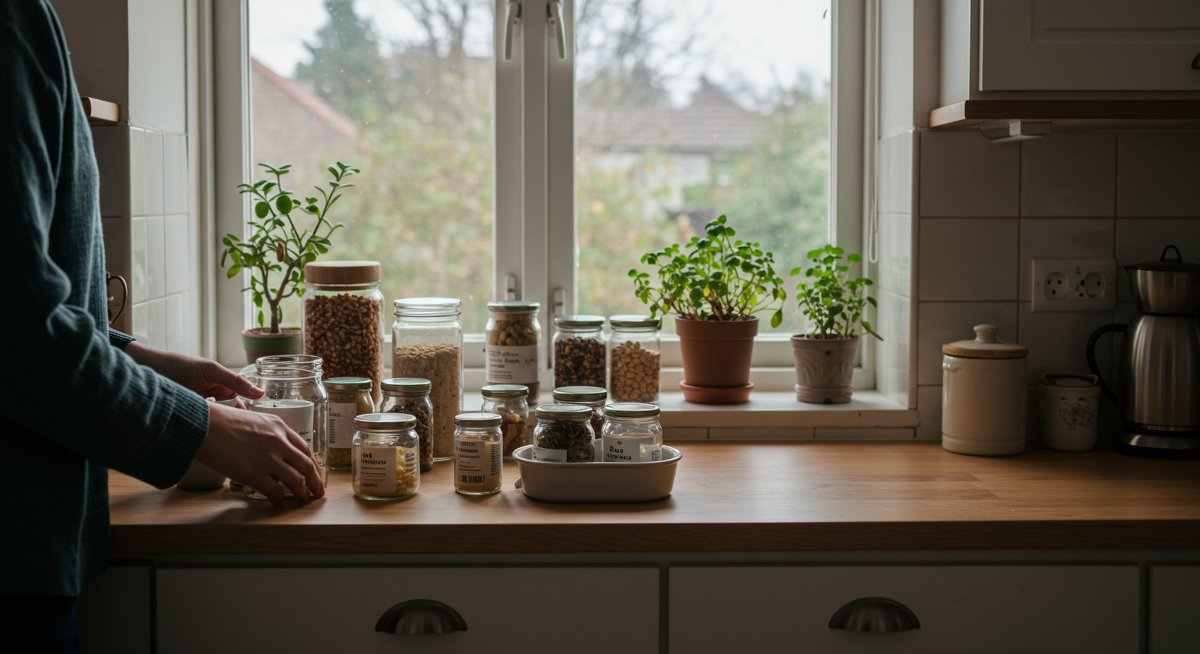
2. Compost Your Food Scraps
Composting food scraps reduces waste and creates nutrient-rich soil for your garden. It's a simple and rewarding way to close the loop on your food waste. This is one of the best changes you can make.
Step-by-step:
- Choose a composting method: You can use an outdoor compost bin, a worm composting system (vermicomposting), or a countertop compost pail. All have different benefits.
- Collect food scraps: Collect fruit and vegetable scraps, coffee grounds, eggshells, and other compostable materials.
- Layer your compost: Alternate layers of "greens" (food scraps, grass clippings) with "browns" (dry leaves, shredded paper, cardboard).
- Turn your compost regularly: If you use an outdoor compost bin, turn the compost pile every few weeks to aerate it.
Example: Composting can reduce the amount of waste you send to the landfill by 30%. You'll also create nutrient-rich compost that can be used to fertilise your garden, reducing the need for chemical fertilisers.
Common mistake: Adding the wrong materials to your compost, such as meat, dairy, or oily foods. These can attract pests and create unpleasant odours.
Expert Tip: If you have limited space, a worm composting system (vermicomposting) is a great option. Worms break down food scraps quickly and efficiently; they do the hard work for you.
3. Install Low-Flow Toilets
Low-flow toilets use significantly less water than older models, without sacrificing performance. If you are looking to upgrade your toilet, this is the way to go. This can save you a substantial amount of water and money.
Step-by-step:
- Choose a low-flow toilet: There are many different types of low-flow toilets available, including dual-flush toilets, which offer both a full flush and a half flush.
- Remove the old toilet: Turn off the water supply to your toilet and disconnect the water line. Then, remove the old toilet.
- Install the new toilet: Follow the manufacturer's instructions to install the new toilet. This is often a DIY project, but you can also hire a plumber.
Example: A standard toilet uses about 3.5 gallons of water per flush, while a low-flow toilet uses as little as 1.28 gallons per flush. Switching to a low-flow toilet can save a family of four up to 20,000 gallons of water per year.
Common mistake: Not checking the water supply valve before starting the replacement. This can lead to water damage.
Expert Tip: Consider a dual-flush toilet, which allows you to choose between a full and a half flush, saving even more water.
Quick Troubleshooting Guide
Sometimes, things don’t go as planned. Here’s a quick guide to common problems you might encounter and how to fix them.
- LED light bulbs flickering: Ensure the LED bulb is compatible with your dimmer switch. Non-dimmable LEDs will flicker, and sometimes, dimmable LEDs are incompatible. Check the bulb packaging for dimmer compatibility. Switch the dimmer if necessary.
- Smart thermostat not connecting to Wi-Fi: Double-check your Wi-Fi password and ensure your router is within range. Reboot your router and the thermostat. If problems persist, contact customer support.
- Low-flow showerhead with poor water pressure: Remove the flow restrictor (usually a small plastic disk) from the showerhead. If the water pressure is still too low, consider a different showerhead model.
- Compost bin attracting pests: Ensure that you’re layering your compost correctly (greens and browns). Bury food scraps under layers of brown materials. Cover the compost pile with a lid or a tarp.
- Water leaks after installing a new fixture: Ensure the threads are properly sealed with Teflon tape. If leaks persist, double-check all connections and tighten them. If this does not work, seek professional assistance.
Next Steps in Your Green Journey
Making your home more sustainable is an ongoing journey, not a destination. The steps we've discussed are just the beginning. Continue exploring ways to reduce your environmental impact, and don't be afraid to try new things. What's next?
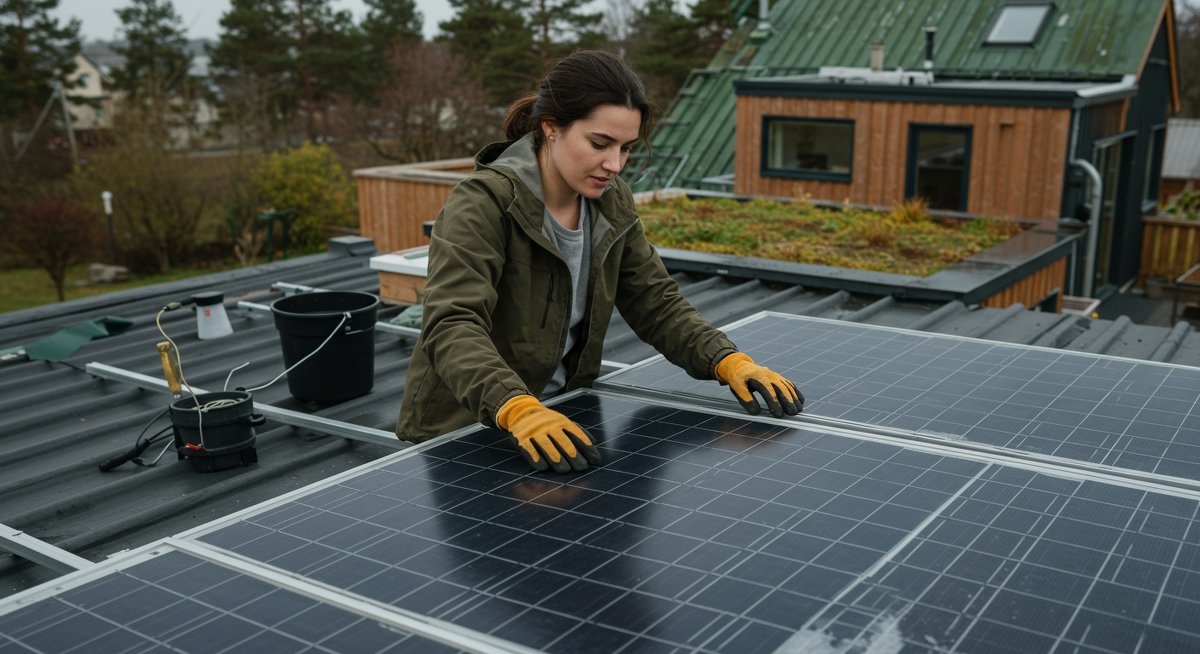
- Research green energy options: Explore renewable energy sources for your home, such as solar panels.
- Reduce waste by using reusable products: The next step is to use reusable water bottles, coffee cups, and food storage containers. Consider reusable shopping bags and bulk food shopping.
- Evaluate your transportation choices: Can you walk, bike, or use public transport more often? Consider an electric vehicle.
- Spread the word: Share your knowledge and experiences with friends and family. You can inspire them to start their own journey toward sustainable living.
If you’re on this journey too, I’d love to hear how it goes for you. Share your experiences and tips in the comments below. Let's build a greener world, one home at a time.